The Impatient Perfectionist’s Guide to Blocking

There she is - the last stitch going in. And with it went my last excuse to postpone the inevitable...
Blocking, for fellow newbs, is the step in handmade textile arts in which you properly shape the finished piece. Canvas twisting, warping, bubbling, and stretching are the natural result of thread tension, fabric handling and, as near as I can figure, existence. If you missed my last post on what this can look like, below is a refresher photo of the foothills of my unstretchered needlepoint.
I need to put this beauty back to rights. It’s blocking time!

Not a flat vista to be seen.
There are a handful of blocking techniques to choose from, depending on your project, preferences, and materials. Because of how much traveling I’ve done with this piece, and how many sticky little hands touched mama’s artwork, I opted to go with the wet blocking method - basically, a craft bath.
For a first-timer like me, this is a terrifying process. You take a beautiful piece of art that cost you 6 months of eye strain, neck pain, and carpal tunnel, and plunge the whole enchilada in a sink of tepid and mildly detergented water (I used lingerie soap!)

Above is my piece waiting patiently in the century it took me to work up the nerve to get started.
I should note that I started this process at 10pm, after kids, husband, and dog turned in for the night. I mean, YouTubers were blocking samplers and stockings in 6-minute video clips. An hour didn’t seem like a far stretch for a novice.

Blup! In it went. I gently swished my piece around to release accrued oils and dust. What a bizarre sensation… giving my needlepoint a bath.
Now, technically, I should have wet a small area on the back, or tested some remnant material, to make sure the thread colors wouldn’t run… but, you know, impatience and all that. The needlepoint gods took pity on this overzealous newbie, and spared me any streaking or bleeding.
That reminds me, I still owe them a temple made of gold…
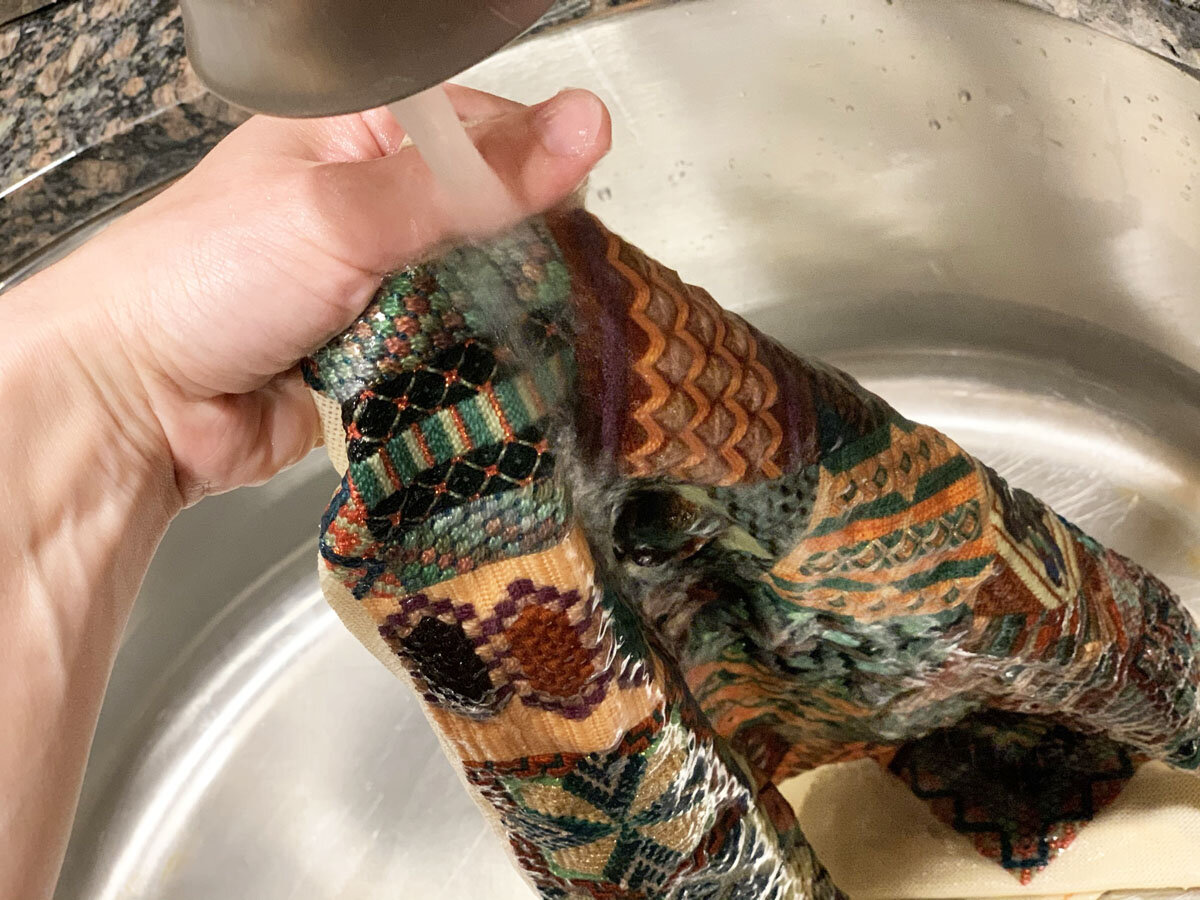
I rinsed gently…

rolled my art in a towel…

then staged my blocking board. Mine is a particle board remnant. I used a square to magic marker in lines slightly larger than my 13 1/2” square piece, then taped plastic wrap over the top to prevent marker bleed from ruining the canvas.
Some upholstery tacks, pliers, and a lightweight hammer unearthed from the basement rounded out my blocking arsenal.
I was now an hour into this blocking process… and that’s when the fun really began.

I somewhat arbitrarily tacked the 4 corners, then put my perfectionism to work carefully placing and spacing a tidy line of tacks. This first row went in slowly, but smoothly… until I realized that my piece had shrunk something like 4” and required back muscles - back muscles, people! - to pull the piece back to size.
Midnight came and went. My patience wore thin. Aside from sizing issues (Damn it! This thing used to be 13 1/2” inches! Why won’t it stretch past 12”?!), it was becoming wicked hard to make a straight edge.
Add to that the realization that I now couldn’t stop. That if I just threw up my hands and left, it would dry in whatever half-sideways position I’d left it, and I’d have to start the whole process over again.
That’s when the wild-eyed nailing began…

I gave up on tidy rows and evenly spaced tacks, dumped the blasted tack container and went at it like a rampaging rhino. The amount of blasphemy raging through my workspace that night would have made Blackbeard blush, as tack nails rocketed out of my numb fingertips and pinged off my forehead and nose. I’ll bet you didn’t know you need safety glasses to do needlepoint.
You do.
This process held me hostage until 2 in the frickin’ morning.
[insert pause to regain composure]

But here we are. And with impressively straight edges, don’t you think? I managed to stretch it to 13 1/4” - just a 1/4” short of its original size. And the oceanic canvas waves… gone.
I’ve left the piece to dry thoroughly before attempting to pull the tacks. I read that a couple days should do the trick. It’s now day 8, and I really think it needs one more day. You know. Just to be safe.
And after I release my piece? I’ll probably have it professionally framed. I don’t think my hands, back, or emotional wellbeing can take any more.
In the meantime, I’ve got another project idea in the works, using the leftover threads and an innate and deliciously sadistic desire to lock this needlepoint skill in with a little more practice. More on that in an upcoming post.
For pro tips on how to block your artwork, check out these helpful resources:
The Spruce Crafts - “How to Block a Needlepoint Canvas With Ease”
Needlepoint Teacher - “Blocking Needlepoint Using Wet Method”
See? Easy-peasy.
And I’ll bet they all used stretcher bars…
Have some blocking tips or adventures of your own to share? Include them in the comments below!


